“Ever spent an hour trying to create a Pinterest-worthy updo, only to end up with something that looks more like a bird’s nest? Yeah, us too.”
Professional updo looks can feel intimidating—but they don’t have to be. Whether you’re prepping for a wedding, a gala, or just looking to elevate your everyday style, this guide will walk you through everything you need to know. We’ll cover the tools, techniques, and tips you need to achieve flawless professional updo looks every time.
Table of Contents
- Why Professional Updos Matter
- How to Create Stunning Updos Like a Pro
- Top Tips for Perfecting Your Look
- Real-Life Inspiration: Iconic Updo Examples
- FAQs About Professional Updos
Key Takeaways
- Professional updo looks are versatile and suitable for any occasion.
- The right tools (like bobby pins, styling products, and hair accessories) make all the difference.
- Practice makes perfect—don’t be afraid to experiment!
- Avoid common mistakes like over-teasing or using too much product.
Why Professional Updos Matter
Let’s face it: hair plays a huge role in how confident we feel. A well-executed professional updo isn’t just about aesthetics—it’s a statement. It says, “I’ve got my life together,” even if you secretly spilled coffee on yourself ten minutes ago.
Confessional Fail: I once attempted a sleek bun for a friend’s wedding rehearsal dinner, but instead ended up with what someone politely called a “creative twist.” To say it was messy would be an understatement. Lesson learned? Don’t wing it without preparation.
Sensory alert: Imagine the sound of perfectly styled strands swishing as you turn your head—and no stray hairs escaping because you did it *right*. That’s the magic of mastering professional updo looks.
How to Create Stunning Updos Like a Pro
Optimist You: “I’ll nail these steps!”
Grumpy You: “Ugh, fine—but only if there’s wine nearby.”
Step 1: Prep Your Hair
Start with clean, dry hair. Apply a heat protectant before blow-drying smooth. If you want extra hold, use a volumizing mousse at the roots. Trust me; skipping this step is chef’s kiss bad.
Step 2: Choose Your Style
Pick from classic options like:
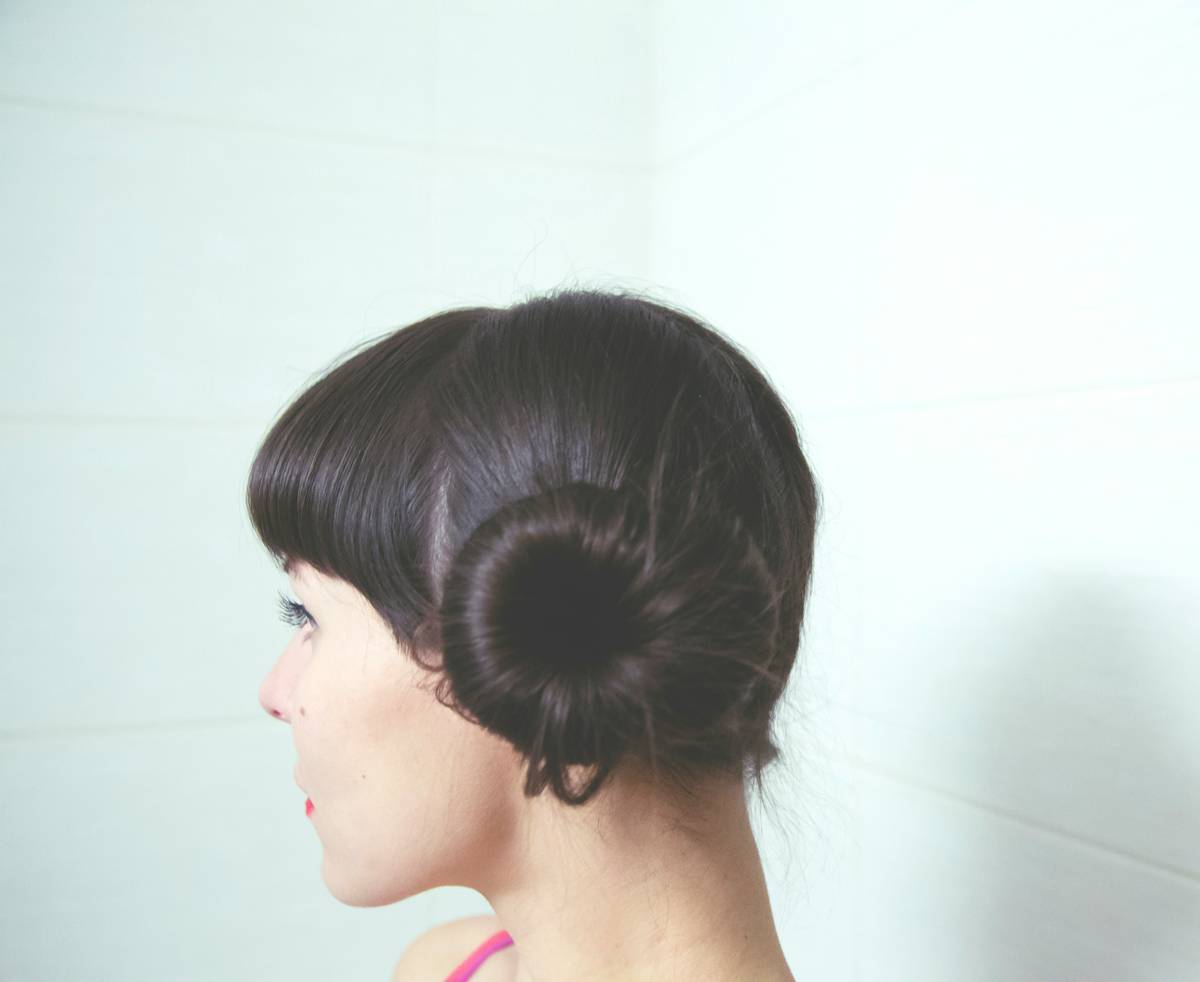
- The Chignon: Timeless and chic, perfect for formal events.
- The French Twist: Sleek and sophisticated for professional settings.
- Braided Crown: Romantic and bohemian, ideal for casual outings.
Step 3: Secure with Accessories
Hairpins, decorative combs, or scrunchies can add flair. But beware of cheap elastic bands—they snap faster than your patience during rush hour traffic.
Top Tips for Perfecting Your Look
Tip #1: Use the Right Tools
Invest in high-quality bobby pins and a good hairspray (think anti-humidity formula). These little heroes save the day.
Tip #2: Practice Makes Progress
No one nails professional updo looks overnight. Spend time practicing styles you love. Bonus points if you rope in a sibling or bestie for practice sessions.
Terrible Tip Disclaimer:
Mess around with random YouTube tutorials without having basic skills first. Seriously, save yourself the heartache.
Real-Life Inspiration: Iconic Updo Examples
Here’s where things get fun. Remember Duchess Kate Middleton’s iconic bridal updo? Or Beyoncé’s red-carpet braided crown? Both unforgettable moments rooted in professional updo looks.

FAQs About Professional Updos
Q: How much does a professional updo cost?
A: Costs vary by location and stylist experience, typically ranging from $50-$200 per session.
Q: Can I DIY professional updo looks?
A: Absolutely! With patience and practice, anyone can master stunning styles.
Q: What products should I avoid?
Heavy gels and sticky sprays can weigh down hair. Opt for lightweight formulas instead.
Conclusion
You now have the ultimate blueprint for achieving professional updo looks. From understanding the importance of prep work to choosing the right style for your vibe, you’re equipped to dazzle. So go ahead—try out those Pinterest boards, sip some bubbly, and slay your next event.
Random Haiku Just For You:
Sleek buns stay steady,
Hairpins hidden from sight,
Confidence soars high.