
Ever stared at your reflection before a big event, wishing you could pull off those jaw-dropping formal updos like the pros? Spoiler alert: You totally can. But here’s the tea—watching a random “formal updo tutorial” on YouTube may leave you more confused than confident.
In this guide, we’ll unravel the mystery behind perfect formal updos and teach you how to style yourself into elegance without losing your sanity. From step-by-step instructions to insider tips, this is your one-stop shop for mastering formal updo tutorials. Ready? Let’s get twisting.
Table of Contents
- Key Takeaways
- Why Learning Formal Updo Tutorials Matters
- Step-by-Step Guide to Perfecting a Formal Updo
- Tips for Nailing the Look Every Time
- Success Stories: Real People, Real Updos
- Frequently Asked Questions About Formal Updos
Key Takeaways
- Formal updo tutorials are ideal for events, weddings, or special occasions where polished looks matter most.
- Mastering basic techniques (like teasing and pinning) sets the foundation for advanced styles.
- The right tools and products make all the difference—a lesson I learned the hard way after my disastrous prom night.
- Honest mistake: Don’t over-tease. It’s not “extra volume”; it’s “bird’s nest.” Trust me.
Why Learning Formal Updo Tutorials Matters
Let me set the scene:
“You’re about to walk out the door for an important gala. Your outfit fits like a dream, but your hair? A tangled mess that screams ‘lazy weekend.’ Sound familiar?”
One fateful evening, I tried creating a formal updo using nothing but bobby pins and sheer willpower. Spoiler alert: It collapsed mid-dinner. Ever since, I vowed to never let another DIY disaster ruin my vibe again. And honestly? Once you understand the basics of formal updo tutorials, styling transforms from panic-inducing to almost… fun.
My infamous prom night failsafe turned epic fail. Oops.
Step-by-Step Guide to Perfecting a Formal Updo
Are you ready to level up? Here’s how to turn a simple ponytail into red-carpet-worthy art.
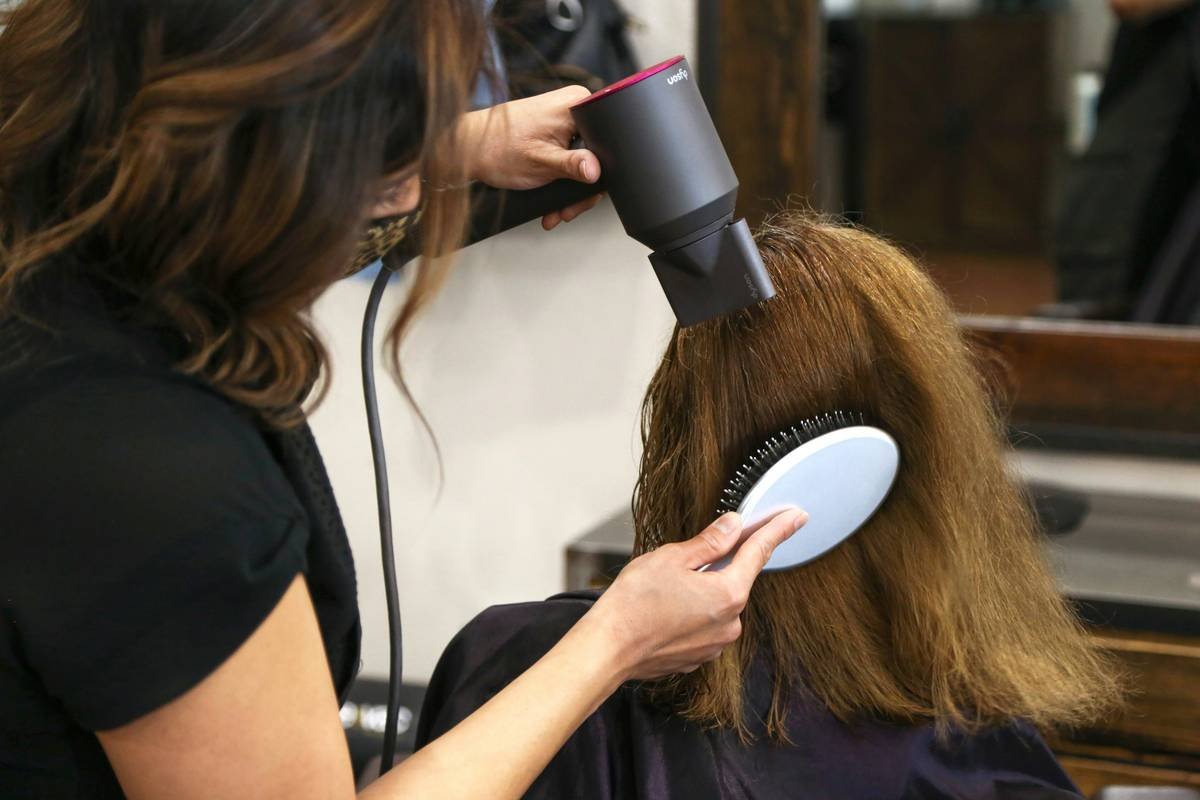
Step 1: Prep Those Locks
Start by washing and conditioning your hair the night before—you want texture, not slipperiness. Apply a heat protectant spray and blow-dry with a round brush for smoothness. Optimist You says: “Smooth base equals easy styling!” Grumpy You replies: “But only if your arms don’t fall off first.”
Step 2: Choose Your Base Style
Decide whether you’re going for a bun, twist, or chignon. For beginners, low buns are forgiving yet elegant. Pro tip? Use a sock bun method—it’s shockingly effective. Like peanut butter on toast, sometimes simpler is better.
Step 3: Secure and Shape
Use small bobby pins to secure stray pieces. Hide them under sections of hair for a sleek finish. Whirrrr goes the satisfaction noise when everything stays put!
Step 4: Add Polish
Spritz hairspray generously—not just around the edges, but everywhere. Now admire your handiwork. Voilà! A masterpiece fit for royalty.
Tips for Nailing the Look Every Time
- Invest in Quality Tools: A rat-tail comb, duckbill clips, and strong-hold hairspray are non-negotiables.
- Practice Makes Progress: Start practicing days before the event so you feel comfortable.
- Avoid Overloading Products: Too much gel = helmet hair. Terrible idea, trust me.
- Rant Section: Why do some tutorials act like you have eight hands?? Be real, people!
Success Stories: Real People, Real Updos
Meet Sarah, who rocked her wedding day thanks to these exact steps. She even shared photos of her trial run versus the final result. The transformation? Absolutely chef’s kiss.
Frequently Asked Questions About Formal Updos
Q1: How long should I practice before attempting a formal updo?
A1: Aim for at least three trial runs about a week apart. This gives your brain time to memorize the motions.
Q2: What hairstyles work best for short hair?
A2: If you’ve got shorter locks, consider half-up styles or accessorized braids. They’re chic alternatives to traditional updos.
Q3: Can I use any old bobby pins, or do they need to match my hair color?
A3: Matching pins disappear better, which creates cleaner lines. Spend $5 on matching ones—it’ll pay off.
Conclusion
No longer does the phrase “formal updo tutorial” need to send shivers down your spine. With this guide, you now have the blueprint for creating stunning, magazine-worthy styles—all by yourself. Remember: prep matters, patience pays, and grumpy inner monologues are 100% normal.
So go ahead, channel your inner stylist and give it a whirl. You’ve got this. And remember…
Up high, stay fly,
Twist and tuck, then spritz.
Glamour awaits thee.
Because, like a Tamagotchi, your hairstyling skills need daily love and care.