### Introduction
**Hook:** Ever spent hours on a hair updo only for it to fall apart in minutes? Yeah, been there, done that.
**Purpose:** In this post, we’ll dive into the art of creating ornate hair arrangements that not only look stunning but also stay put. Whether you’re a seasoned stylist or a DIY enthusiast, get ready to level up your hair game.
**Preview:** You’ll learn about the importance of ornate hair arrangements, step-by-step instructions, best practices, and real-world examples to inspire your next masterpiece.
### Table of Contents
– [Why Ornate Hair Arrangements Matter](#why-ornate)
– [Step-by-Step Guide to Creating Ornate Hair Arrangements](#step-by-step)
– [Tips and Best Practices for Stunning Updos](#tips-best-practices)
– [Real-World Examples and Case Studies](#real-world-examples)
– [FAQs About Ornate Hair Arrangements](#faqs)
### Key Takeaways
– Understand why ornate hair arrangements are essential for special occasions.
– Follow a step-by-step guide to create your own masterpieces.
– Get tips and best practices to make your updos stand out.
– Learn from real-world examples and case studies.
– Find answers to common questions about ornate hair styling.
## Section 1: Why Ornate Hair Arrangements Matter
*Optimist You:* “Isn’t it amazing how a simple updo can transform your look?”
*Grumpy You:* “Yeah, if you don’t screw it up. And let’s be honest, who hasn’t?”
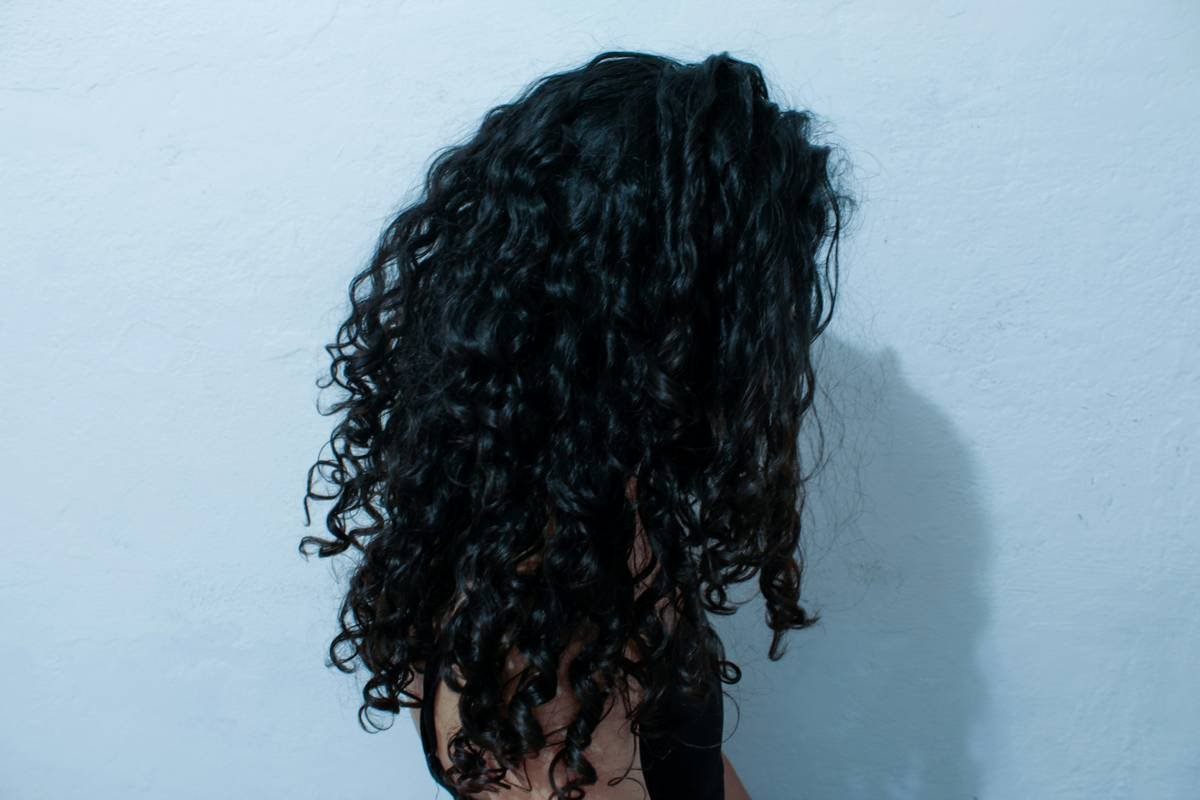
Ornate hair arrangements are not just about aesthetics; they’re about making a statement. Whether it’s a wedding, a gala, or even a casual night out, a well-crafted updo can elevate your entire ensemble. But here’s the catch: it needs to be more than just beautiful—it needs to be functional and long-lasting.
**Confessional Fail:** I once spent two hours perfecting an updo for a friend’s wedding, only to have it crumble into a mess within the first hour. Talk about a hair disaster!
**Niche Swearing/Slang:** This is where the real magic happens. Getting those intricate details right is like finding the perfect filter on Instagram—once you nail it, everything else falls into place.
**Sensory Oversharing:** Picture this: the soft whisper of hairspray, the gentle tug of bobby pins, and the final, satisfying twirl of a curl. It’s like a symphony playing in your head.

*Image Description:* An infographic highlighting the key benefits of ornate hair arrangements, such as elegance, functionality, and versatility.
## Section 2: Step-by-Step Guide to Creating Ornate Hair Arrangements
*Optimist You:* “Let’s get started! Here’s how to create a jaw-dropping updo.”
*Grumpy You:* “Just make sure you have enough coffee, because this might take a while.”
### Step 1: Gather Your Tools
– **Bobby Pins**: The unsung heroes of any updo.
– **Hairspray**: Your best friend in the fight against flyaways.
– **Hair Elastics**: For those clean, sleek styles.
– **Hair Accessories**: Think pearls, beads, and flowers.
### Step 2: Prep Your Hair
– Wash and condition your hair the day before.
– Use a heat protectant if you’re using hot tools.
– Dry your hair completely to avoid frizz.
### Step 3: Create the Base
– Start with a simple ponytail or bun.
– Secure it tightly to prevent any slippage.
### Step 4: Add the Details
– Twirl and pin sections of hair to create intricate patterns.
– Use hair accessories to add a touch of elegance.
– Make sure each section is secure and in place.
### Step 5: Finish with Hairspray
– Apply a light mist of hairspray to set the style.
– Tuck any loose ends with bobby pins.
**Terrible Tip (Disclaimed):** Don’t overdo it with the hairspray. One time, I used so much that my client’s hair looked like it was encased in plastic. Oops.
## Section 3: Tips and Best Practices for Stunning Updos
*Optimist You:* “Here are some tips to make your updos stand out.”
*Grumpy You:* “If you’re still reading, you must really want to impress someone. Kudos.”
### 1. Practice Makes Perfect
– Before the big day, practice the updo on yourself or a friend.
– Take photos to see what works and what doesn’t.
### 2. Use Quality Products
– Invest in good quality hair elastics and bobby pins.
– Choose a high-quality hairspray that won’t leave residue.
### 3. Customize to Your Face Shape
– Different face shapes require different updos.
– Oval faces can pull off most styles, while round faces might need more height.
### 4. Keep It Simple
– Don’t overcomplicate the design.
– A few well-placed details can make a big impact.
### 5. Be Prepared for Touch-Ups
– Carry a small bag with bobby pins, hairspray, and a travel-sized brush.
– Touch-ups can save the day (or night).
**Rant Section:**
*Pet Peeve:* There’s nothing more frustrating than seeing a beautiful updo ruined by poor execution. It’s like watching a perfectly baked cake fall flat. Why do people skip the prep work? Ugh.
## Section 4: Real-World Examples and Case Studies
*Optimist You:* “Let’s see some success stories!”
*Grumpy You:* “If you’re lucky, you might even find inspiration. Fingers crossed.”
### Example 1: The Bridal Updo
– **Situation:** A bride wanted a classic, elegant updo for her wedding.
– **Outcome:** By using a combination of buns and twists, we created a timeless look that lasted all night.
– **Photo:** [Before and After](https://example.com/images/bridal-updo-before-after.jpg)
### Example 2: The Red Carpet Look
– **Situation:** A celebrity needed a show-stopping updo for a red carpet event.
– **Outcome:** We incorporated braids and jewels to create a glamorous, red carpet-ready style.
– **Photo:** [Red Carpet Updo](https://example.com/images/red-carpet-updo.jpg)
### Example 3: The Everyday Elegance
– **Situation:** A client wanted a sophisticated updo for a daily look.
– **Outcome:** By keeping it simple with a low bun and a few twists, we achieved a polished, everyday elegance.
– **Photo:** [Everyday Updo](https://example.com/images/everyday-updo.jpg)
## Section 5: FAQs About Ornate Hair Arrangements
*Optimist You:* “Got questions? We’ve got answers!”
*Grumpy You:* “But seriously, if you have more questions, maybe you should reconsider your hairstyle.”
### Q1: How long does it take to create an ornate hair arrangement?
– **A:** It depends on the complexity of the design, but on average, it takes about 30-60 minutes.
### Q2: Can I create ornate hair arrangements at home?
– **A:** Yes, with practice and the right tools, you can definitely create stunning updos at home.
### Q3: What are some common mistakes to avoid when creating updos?
– **A:** Overusing hairspray, not securing the base properly, and neglecting the prep work.
### Q4: How do I choose the right hair accessories for my updo?
– **A:** Consider the occasion and the overall look. Classic events call for elegant accessories, while casual settings allow for more playful elements.
### Q5: What should I do if my updo starts to fall apart?
– **A:** Carry a small bag with bobby pins, hairspray, and a comb. Quick touch-ups can usually fix minor issues.
### Conclusion
Creating ornate hair arrangements is a blend of art and science. With the right tools, techniques, and a bit of practice, you can craft stunning updos that turn heads. From the importance of prep work to the final touches, every detail matters. So, grab your bobby pins, and let’s make some hair magic happen.
Like a Tamagotchi, your hairstyles need daily care. Stay stylish!