Ever spent an hour trying to perfect a hair updo, only for it to look more “messy bun gone wrong” than “red carpet ready”? Yeah, we’ve all been there. Whether you’re prepping for a wedding, attending a gala, or just leveling up your everyday style, nailing those polished hair creations can feel like climbing Everest in stilettos. But what if we told you that creating sleek, stunning updos is easier than you think?
In this guide, we’ll break down everything you need to know about mastering *polished hair creations*. From the tools you’ll need to step-by-step tutorials and insider tips, consider this your ultimate playbook for flawless updos. Ready? Let’s dive in!
Table of Contents
- Why Polished Hair Creations Matter
- Step-by-Step Guide to Achieving Perfect Updos
- Pro Tips for Sleek Results
- Real-World Success Stories: Before & After
- FAQs About Polished Hair Updos
Key Takeaways
- Polished hair creations are versatile and elevate any outfit—casual or formal.
- The right tools (like shine sprays, smoothing serums, and sturdy bobby pins) make all the difference.
- Mistakes happen. Don’t overthink; focus on balance and symmetry for a professional finish.
- Consistency is key: Practice regularly to refine your technique.
Why Polished Hair Creations Matter
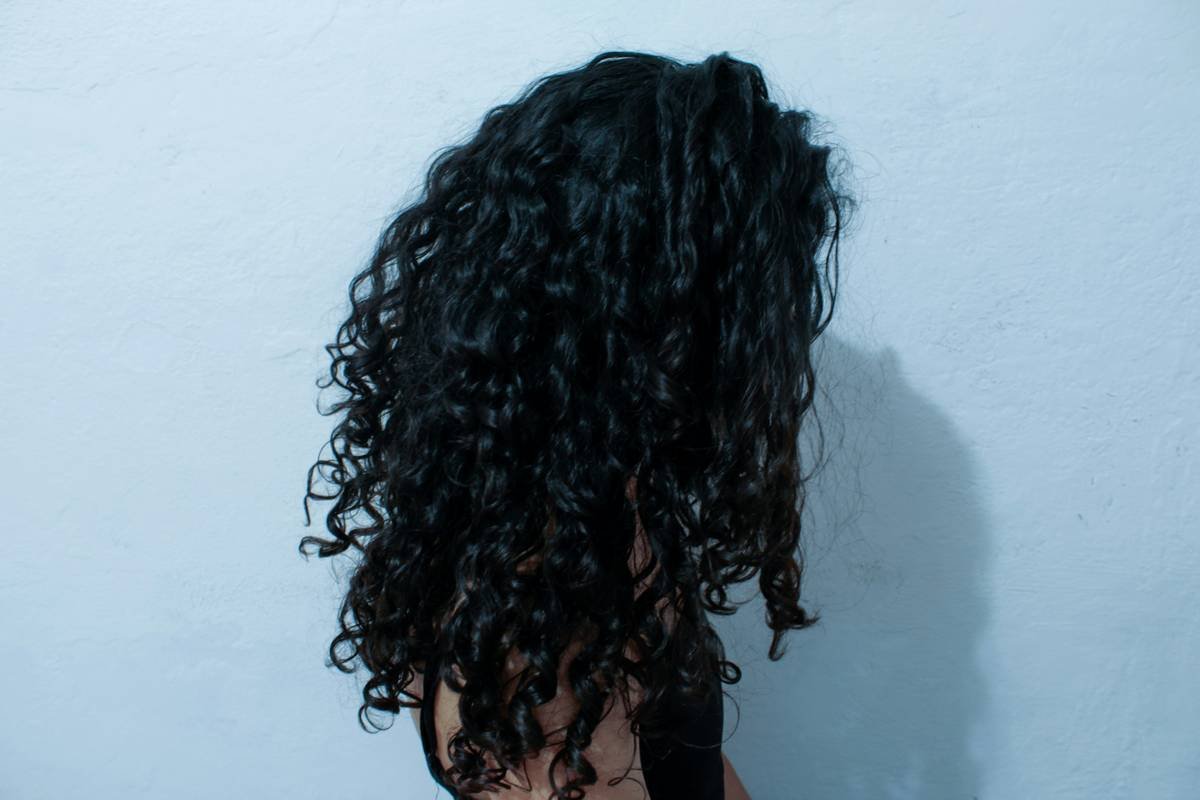
Let’s get real—life’s too short for bad hair days. And when it comes to special occasions (or even just feeling confident at work), nothing beats the transformative power of a well-executed updo. A perfectly crafted hair updo screams elegance, effortlessness, and polish (pun fully intended).
Confessional Fail Alert: I once attempted a French twist without using enough bobby pins, and my entire hairstyle collapsed mid-event. Talk about mortifying! Since then, I’ve learned that polished hair creations aren’t just about slapping some strands together—they require strategy, precision, and trusty accessories.
To give you a visual analogy: Think of your hair as clay. Without proper shaping techniques and tools, you might end up with something blobby instead of Instagram-worthy perfection.
Step-by-Step Guide to Achieving Perfect Updos
What You’ll Need
Before diving into the how-to, gather these essentials:
- A high-quality flat iron or curling wand (for texture)
- Hair elastics that match your hair color
- Bobby pins, preferably matte black or brown
- A lightweight shine spray or serum
- A teasing comb or fine-toothed brush
Step 1: Prep Your Hair
Optimist You: “Follow these prep steps, and you’re halfway there!”
Grumpy You: “Ugh, fine—but only if coffee’s involved.”
Start by washing and conditioning your hair. If you want extra hold, apply a volumizing mousse while blow-drying. For naturally smooth results, run a flat iron through your locks before styling.
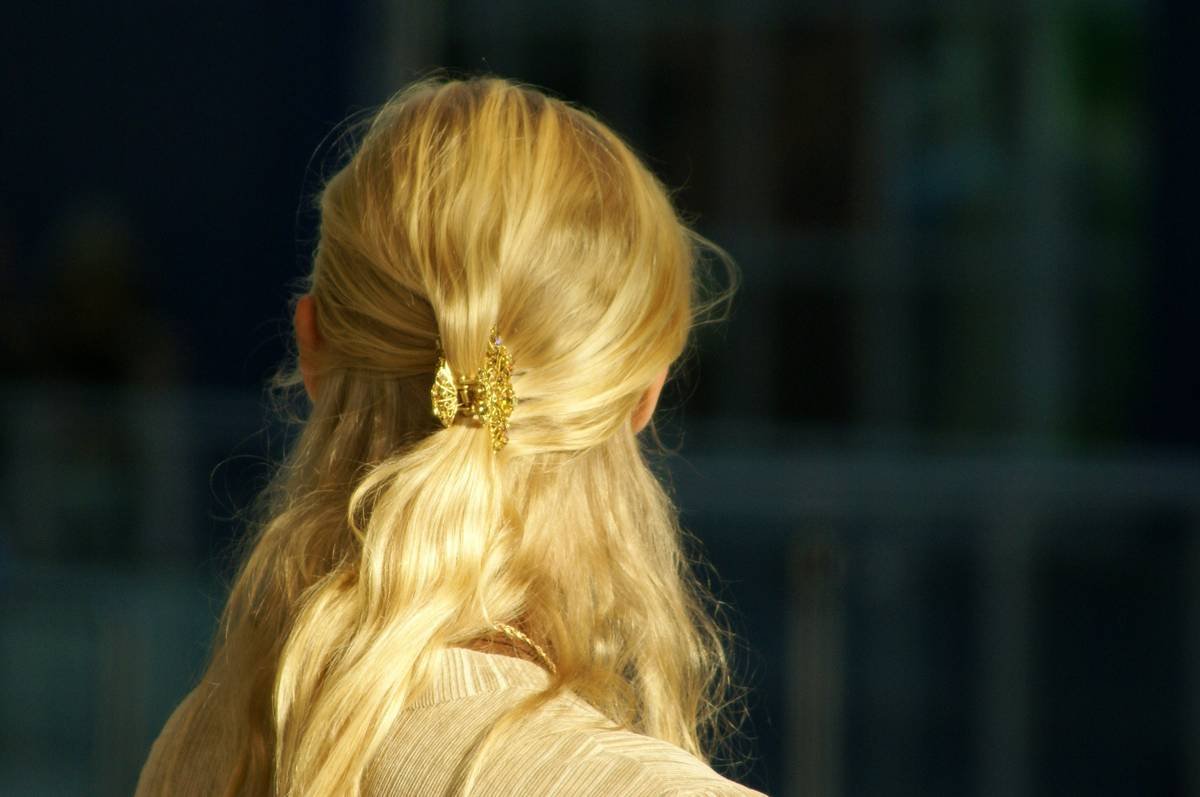
Step 2: Create a Base
Section your hair into two parts: top and bottom. Secure the top section with a clip. Work with the bottom half first, twisting or braiding it to create structure.
Step 3: Style the Crown
Release the top section and tease gently with a comb to add volume. Twist or roll sections upward, securing them with bobby pins. Use hairspray sparingly to keep flyaways at bay.
Step 4: Finish with Shine
Spritz a shine-enhancing product over your masterpiece. This final touch makes your updo appear salon-fresh.
Pro Tips for Sleek Results
Top 5 Secrets to Flawless Polished Hair Creations
- Less Is More: Avoid going overboard with products—it can weigh your hair down.
- Invest in Quality Tools: Cheap brushes and pins don’t provide the same grip or longevity.
- Play with Accessories: Add ribbons, pearls, or decorative clips for flair.
- Practice Makes Progress: Start simple, then experiment with intricate styles.
- Avoid Wet Hair Mishaps: Never style damp hair—it leads to frizz and ruined looks later.
Rant Section: The Bobby Pin Struggle is Real
Finding the RIGHT bobby pin feels like searching for unicorns sometimes. Metal edges poking your scalp? Crisscross patterns failing under pressure? Ugh. Save yourself the headache and opt for coated, non-slip varieties. Trust me—your future self will thank you.
Real-World Success Stories: Before & After
Meet Samantha, who went from “meh” messy buns to jaw-dropping low chignons after learning these techniques. Another success story? Emily, whose DIY bridal updo received endless compliments (“Your hair looks insane!”). These transformations prove anyone can master polished hair creations with practice and patience.
FAQs About Polished Hair Updos
Q1: How long do polished updos typically last?
With the right products and secure pinning techniques, most updos stay intact for 1–2 days.
Q2: Can short hair still achieve polished styles?
Absolutely! Braids, twists, and tucked-back designs work beautifully on shorter lengths.
Q3: What’s one terrible tip to avoid?
Never use super-sticky gels. They leave residue and destroy texture faster than you can say “frizzy disaster.”
Conclusion
Congratulations—you now have the blueprint for crafting envy-inducing polished hair creations. Remember, practice makes perfect, so don’t be afraid to experiment until you find what works best for your hair type. With the right mindset, tools, and techniques, you’ll breeze through every hair event like a pro.
And here’s your bonus nostalgia bomb: Like accessorizing Tamagotchis back in the day, perfecting hair updos takes care, creativity, and consistency. Keep shining!